Showing posts with label Eating Like the Kings. Show all posts

Tuesday, July 26, 2011

Baby food to last a lifetime

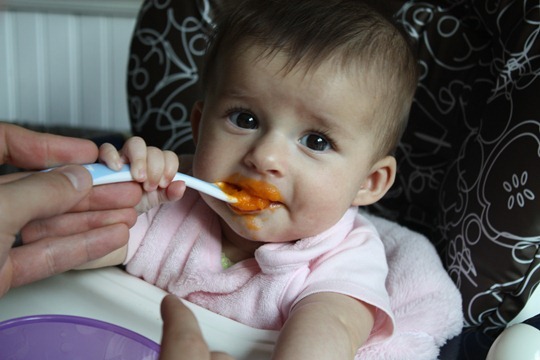
This past weekend, after a trip to Wholefoods, I decided to make enough baby food to last trough the rest of Peanut’s baby food stage.

Well, not literally, but I did make a lot.

6 months 127

I started with this:
Zucchini and yellow squash from our garden.
Apples
Pears
Peaches
Plums
Sweet potato

6 months 130

Don’t they look delicious?

And of course, my immersion blender.

6 months 136

Plus my “cookbook.”

6 months 137

Then I started with the items that needed to bake since they take the longest.

6 months 138

6 months 139

De-boned peaches and plums.  I also put the sweet potato in the oven.

While these puppies were baking, I was boiling/steaming the rest.

6 months 144
Zucchini, pears, apples and yellow squash - pureed.

And after everything cooled off, I put it in ice cube trays.

6 months 1476 months 150

(This is just the boiled stuff!)

I actually ended up having to run out and buy more ice cube trays to finish the job.

But now we have about 150 ice cubes of baby food to mix and match as we please.

6 months 118

We even have a few new foods to introduce to Peanut like plums and peaches.

Do you make your own baby food?

Did you know I used to cook for my dogs?

Saturday, July 9, 2011

Homemade baby food - apples and pears

Peanut seems to really love this whole food idea we’ve been introducing her to.  So we press on.

On the menu this past week were apples and pears.

Food, pool and puppies 001

Because apples and pears are on the Dirty Dozen list, we bought organic.  I think that raised the price a little, but considering that we still got about 20 portions for about $5, I’m over it.

Food, pool and puppies 003

After talking to my bestie, Inna, I decided to try one of her “recipes.”  Instead of baking, I peeled, cubed, and boiled the apples and pears for about 10 minutes in about 1-2 inches of water.  Then used my immersion blender to get it down to a nice, watery paste.

At first, Peanut did not like the apples.  She just kept making gagging faces with each spoonful, but reaching out for more.  After a few bites, she got used to it and seemed to really love it!

eating collage


I think we may try bananas next!

Sunday, June 26, 2011

Baby food - yams

We’ve tried a few solids with Peanut so far.

First, we did rice cereal.  We just took a spoonful of the rice cereal, mixed it with some breast milk, and gave it to Peanut.

Next we tried some avocado, mashed in a food processor.  She did not like avocado much.

After we learned that the rice cereal clogged Peanut, we stopped it altogether and moved on to pears.  I ended up buying the pear baby food because I was too stressed out about Peanut not pooping for 12 days straight to worry about making her some food.

After a few days with the pears, which Peanut loved, I decided to try my luck with yams. 

pizza and sweet potato 005

In case you’re wondering, yams are like sweet potatoes (I’m still a little unsure about the difference). 

To cook them for the baby, I started with one.  With the oven on 400, I washed and wrapped it in tin foil, then baked it for about 45 minutes.  I read that baking will bring out the flavor.

Once it’s cooked (you can check by poking it with a fork to make sure that it’s soft all the way through), I sliced it into 4 pieces.

pizza and sweet potato 007

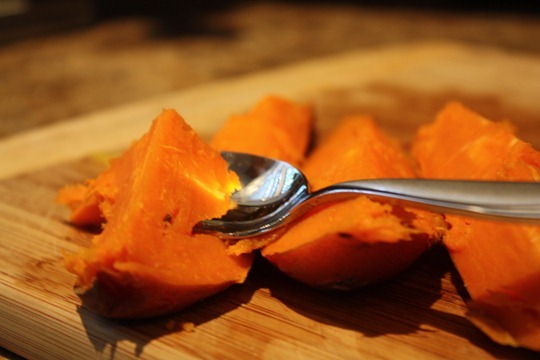
Then used a spoon to scoop out the yummy stuff and leave the skin back.
pizza and sweet potato 013

Then I ground it down in a food processor.

pizza and sweet potato 019

But this didn’t really get it quiet as processed as I wanted it to be, so I added some water and used this handy little guy.

pizza and sweet potato 022

This did the trick!

pizza and sweet potato 023

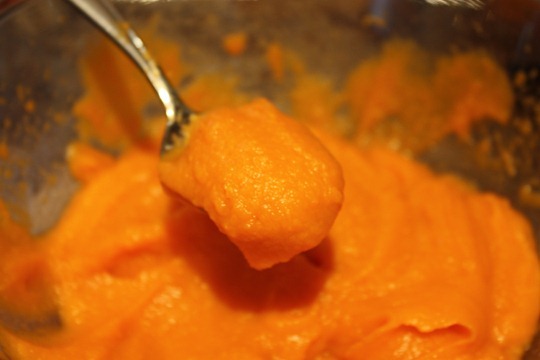
To one yam, I added about 1/4 cup of water to make it a little more watery.
pizza and sweet potato 028

Since this made plenty of food for the next couple of weeks, I froze more of it by putting it in the ice-cube tray.

pizza and sweet potato 060

Once it’s frozen, I transferred these to a zip-lock bag and we just pop them out in the evening, warm them up, and Peanut’s home-made food is ready in minutes!

Now, on to the tricky part – the judges.

pizza and sweet potato 029

At first, she wasn’t so sure.

pizza and sweet potato 042

But she quickly came around and loved it!

pizza and sweet potato 046

Next time, pizza.

pizza and sweet potato 058

I’m just kidding – that’s our dinner.

Did you make or buy your baby food?  What was your baby’s favorite?

What are you having for dinner tonight?

What’s the difference between a sweet potato and a yam?

Thursday, May 12, 2011

A gal after my own stomach

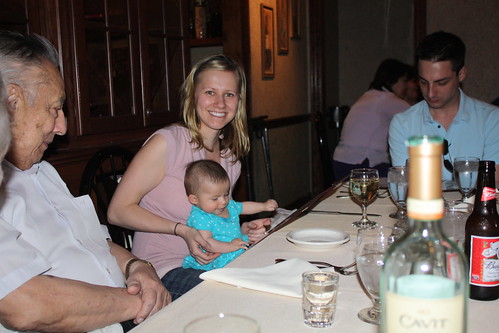
One of my favorite things to do is to go out to eat.

Apparently, so is Peanut's.

Like me, she loves to browse the menu for a few minutes,


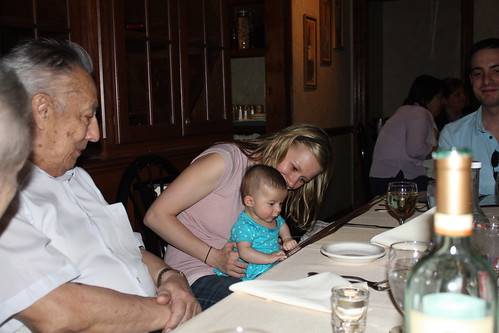
trying so hard to make up her mind about what goodies to order.


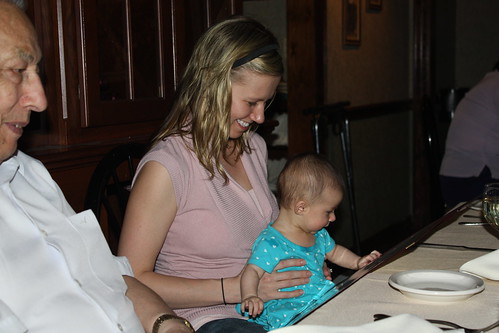
And like me, she likes to hear everyone else's decisions first and consult on her own.


She gets excited when she finally sees something that looks perfect.


And exactly like me, she drools a little on the menu.


Monday, May 2, 2011

May Blog Feature - How Sweet It Is

I "met" Jessica from How Sweet It Is a year ago when I stumbled on to her blog for a couple of amazing recipes.  And then stayed for the shoes.  If you love bacon, healthy recipes, fun alternatives to your dinner with some simple ingredients, you'd love Jessica's blog.  However, if you do not enjoy drool on your keyboard or the possibility of gaining hundreds of pounds because you can't seem to stop craving chocolate cake (thanks a lot Jessica), I would recommend that you be very careful about how much time you spend on her site.

Moving on.  Here is a little about Jessica:

Who are you?
I'm Jessica, the writer behind the blog How Sweet It Is. I'm 28, a full-time writer, blogger and recipe developer, live in Pittsburgh with my husband, and could survive on bacon alone for days.

Why did you start blogging?
I was stuck in a dead end job that made me pretty miserable, so I started blogging about the things I would cook and bake on the weekend. Blogging gave me something to look forward to and something to work towards since there wasn't much for me to do in my job. It reignited my passion for writing and helped me get much more creative in the kitchen. It was easily the best decision I ever made!

If you knew you were going to be stranded on an island for the next year, what 5 things would you bring with you?
Oooh... how can I choose? I'm going to say a notebook, a pen, the Bible, lip gloss and a Vosges chocolate bacon bar. It would do me good to be without technology for 365 days.


It’s only been recently that I’ve jumped on the frittata bandwagon. While I’ve always loved eggs, I preferred them scrambled or fried to a thickly sliced triangle. Even stuffed with bacon, a frittata just wasn’t my breakfast of choice – often too large to layer on a slice of toast.

Since I have the sweetest teeth known to man, I wondered what it would be like to throw a bit of fruit into a frittata. I’ve already made fruit-stuffed omelets before that were a hit, so I figured I couldn’t go wrong with a fruit frittata. And if there is anything I love more than bacon, it’s a sweet and savory combo. That’s my favorite part of this frittata – you can serve it with additional sweetness in the form of maple syrup, or you can grate a big pile of cheddar cheese on top for a savory tang.

It has easily become one of our favorite breakfasts. And I’m no longer a frittata hater! It’s simple, it’s quick, it’s easily customizable – you can’t go wrong!


Apple Berry Frittata
Serves 2-3

6 whole eggs
1 tablespoon milk
½ apple, sliced
4 large strawberries, sliced
¼ cup blackberries
1/8 teaspoon salt
1/8 teaspoon cinnamon
1 tablespoon butter

Heat an over-proof skillet (anywhere from 4-6 inch, depending on desired thickness) on medium heat and add butter. Add apples and berries to the skillet and sauté until soft, about 3-4 minutes. In a large bowl, combine eggs with salt, cinnamon and milk. Beat with a fork lightly, then pour on top of the fruit. Mix with a spatula for a minute or two and then let sit until the frittata sets, about 5 more minutes.


Heat the broiler in your oven and place the skillet directly underneath. Cook for 2-3 more minutes or until frittata is golden brown on top and fluffy. Serve with maple syrup or freshly grated cheddar cheese. Add fresh mint as a garnish if desired.


Saturday, April 9, 2011

Prep work

Tomorrow is Peanut's Baptism at our Church.

Followed by Brunch at our house.

Needless to say, I had a lot of prep work to do today.

I made some crepes.


(you can steal my recipe here.)

And of course, you can't make any Blinchiki without one of these.


Tonight was a Leese Fitch Zinfandel.  In case you're curious, it's delicious.

While the mix had to sit in the fridge for an hour, I made some mozzarella and tomato toothpick apps.


I stole the idea from my Bestie Kerry (the one that's holding my Buddy for me until I can steal him).  I'll add some balsamic and basil to it tomorrow.

Then, an hour later, I went to town on the Blinchiki.  I made 4 batches.


It took over an hour.


But not all of them made it.


Technically, this one did make it...onto my plate.

Ok, ok.  There was no plate.  I just ate it with my hands while cooking the rest.

Anyways, then I prepped some of the fillings for the crepes.  Like bacon.


Jess would be so proud.

And some ham and cheese.


And when all was said and done, I headed for the living room with my glass of wine while the hubs cleaned up.


Be jealous.  Be very very jealous.

(Ok ok so it was a deal we made.  I shop and cooked today while he cleaned and got to watch golf all day.  Yuck. yuck yuck yuck.)

And I'm going to give you a TINY little previous of Peanut's outfit for tomorrow's occasion.


Wednesday, April 6, 2011

Turkey Meatballs

I'm going to preface this by letting you know that most of the time I make this recipe up as I go along.  However, I will do my best to give you the ingredients so you can enjoy these:


In fact, I'll even share with you my super awesome trick for freezing them.

Here's what you'll need:
  • Some turkey (I make these in bulk, but it's a good idea to have about a lb and a half)
  • Some breading (about a cup per lb of turkey)
  • Some Parmesan cheese (about a cup per lb of turkey)
  • Some eggs (about 2 eggs per lb to pound and a half of turkey)
  • Onion (your call but I'd use about half to full per lb of turkey)
  • Garlic (again your call but I use about 3 cloves per lb of turkey - no vampires here)
  • Salt & pepper (about a teaspoon per lb of turkey but realistically, I just eye it)
Like I said, I make these in bulk and freeze them.  So I'm going to start with about 4.5 lbs of turkey.


And a whole bunch of this stuff.


It's really pretty simple - chop up the onion and press the garlic then mix everything in one large bowl.


I have no idea what you can use since I've always just used my hands.


Don't worry, I wash them really well before and after.  But it's still kinda gross.


Oh well, Russian traditions live on.  I used to help my mom when I was a kid.

Then make the meatballs.


Line 'em up,


and stick them in the fridge for about 10 minutes.

Fire up the frying pan or griddle if ya got one.


We all know I love ours.  Then fry the meatballs until they are browned on all sides.

Move them to some paper towels to dry.


Now here's the little trick to freezing meatballs.

Fry them up about 3/4 of the way then spread them on cookie sheets.


Then stick them in the freezer for about 15-20 minutes before transferring them to a zip lock bag.  This way they won't get stuck together.

Or you can cook them the rest of the way in some sauce (I use canned diced tomatoes, red pepper flakes, more garlic, salt and pepper, and some basil) and spread them over pasta.


Button

Current Giveaway

Current Giveaway
$25 Amazon.com Gift Card

My Peeps

Tweet tweet

Facebook

Blogs I follow

I-was-featured-button Photobucket
Thoughts from an Evil Overlord
 
Designs by Munchkin Land Designs. Copyright 2011. All rights reserved.